Surface Mount Soldering Practice
Before attempting to solder components on my own board, I bought a test PCB. The first component I tried soldering down was an 0603 capacitor. This was smaller than the 0805 components that I planned to use, but I had a few to hand.
General Setup
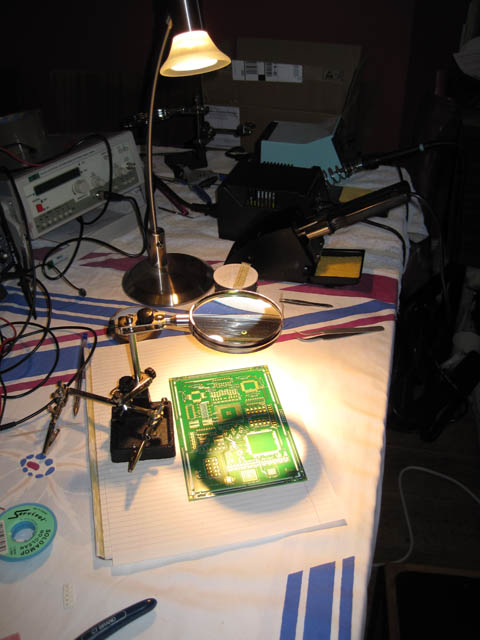
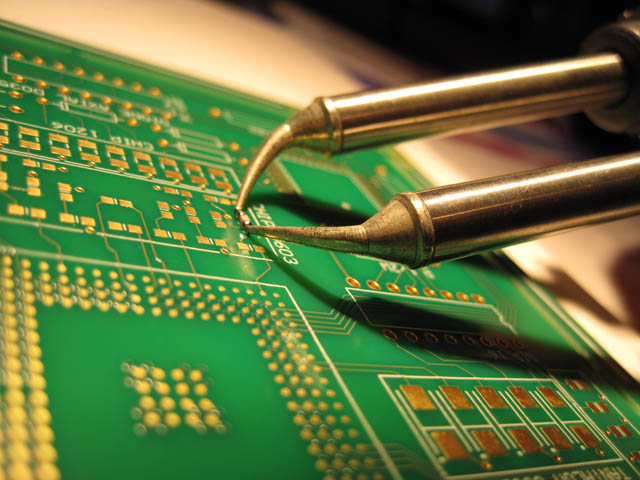
I have a Weller soldering iron, and a pair of "Hot Tweezers" for removing devices. I have a couple of "Helping Hands" gadgets that are a stand holding a magnifying glass and a couple of adjustable arms with crocodile clips on the end for holding things.
Holding component in position
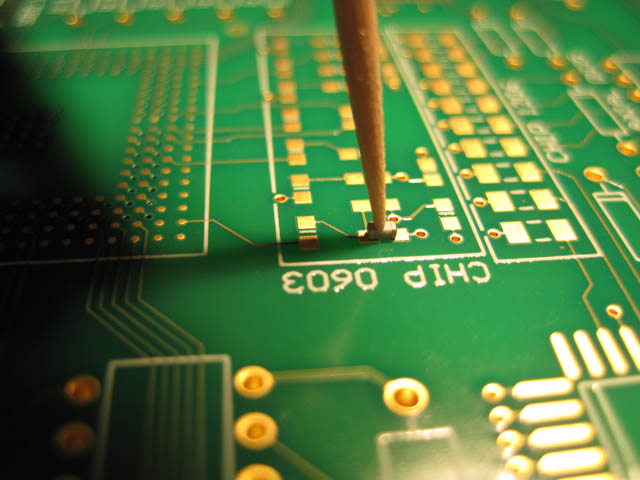
Using a cocktail stick held in the croc clip of the helping hands, the component is held in position.
Initial Joint - too much solder
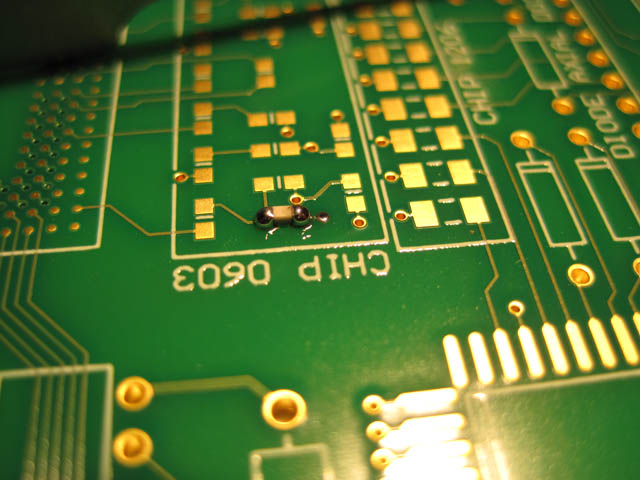
The solder flowed really easily onto the PCB and component contacts. However, a little too much solder ended up on the joints.
Less Is More - wick off some solder
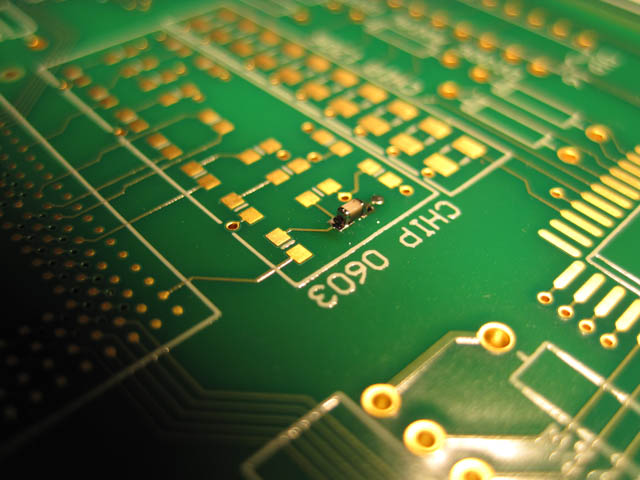
Applying the soldering iron and desoldering braid (wick) to the joint, I remove most of the solder. This still leaves plenty to make the joint, and looks a lot more like "proper"boards.
Try Out The Tweezers - attempt to remove the component
Using the tweezers was very straightforward. I made sure both ends were in contact with the solder on the component contacts and that the solder was molten. Then just like any other pair of tweezers, simply pressed together and lifted off the component. Simple!
Clean Up The Board - find the component
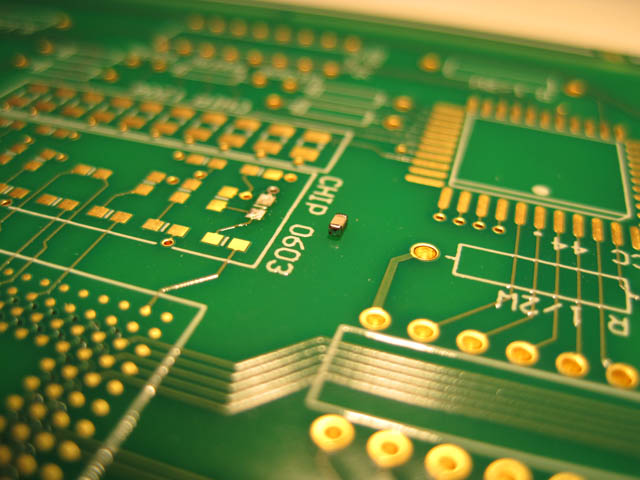
Having succesfully removed the component from the board, I had to find it. Because it was so small, it was adhered to the tweezers. A quick wipe on the sponge and hey presto, a component that could be re-used. I then used the desoldering braid on the SMD pads to remove the excess solder ready for another component to be fitted.
< Back to main page